
Yes, you can clean an Arctic Spa Pro Filter with a DIY teardown, but it is a major hassle and it does not restore the filter to like-new condition. The proprietary cartridge is not designed to be taken apart or cleaned by owners, and Arctic Spas does not approve this method. The workaround requires cutting off the outer wrapper the first time, popping apart every plastic block in the filter stack, removing the five internal media layers, rinsing them as thoroughly as possible, and carefully reassembling the filter.
The internal media is extremely difficult to deep-clean. Even after you rinse and scrub the pieces as well as you can, dirt remains trapped inside the material. The rebuilt filter may keep working, but the water will generally remain dirtier than it would with a fresh proprietary set or properly cleaned traditional pleated filters.
The Spa Filter Adapter Kit v3 lets compatible 2020+ Arctic Spa Custom Series owners use generic replacement filters that are much easier to remove, rinse, deep-clean, inspect, and replace.
Unofficial DIY method: The proprietary filters were not designed to be taken apart. This modification is based on my firsthand experience, and Arctic Spas does not approve it as a maintenance procedure. Opening the cartridge permanently changes the original assembly.
Safety first: Turn off your hot tub breaker before removing the Pro Filters or starting this procedure. Use caution with razor blades, scissors, screwdrivers, and cleaning chemicals. Do not reinstall a filter if its plastic blocks, tabs, media pieces, or fit are damaged or cannot be reassembled securely.
What You Will Need
- Razor blade or scissors for the outer wrapper
- Small flathead screwdriver for the retaining tabs
- Warm running water and a soft cleaning brush
- Optional spa cartridge cleaner used exactly as its label directs
- A clean area where the five media layers can stay in their original order
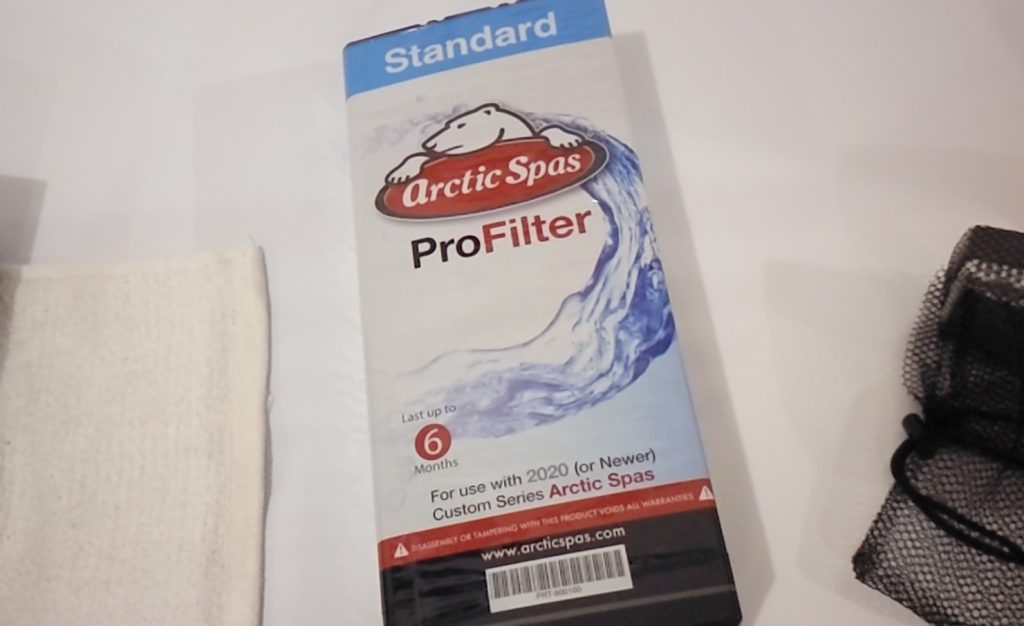
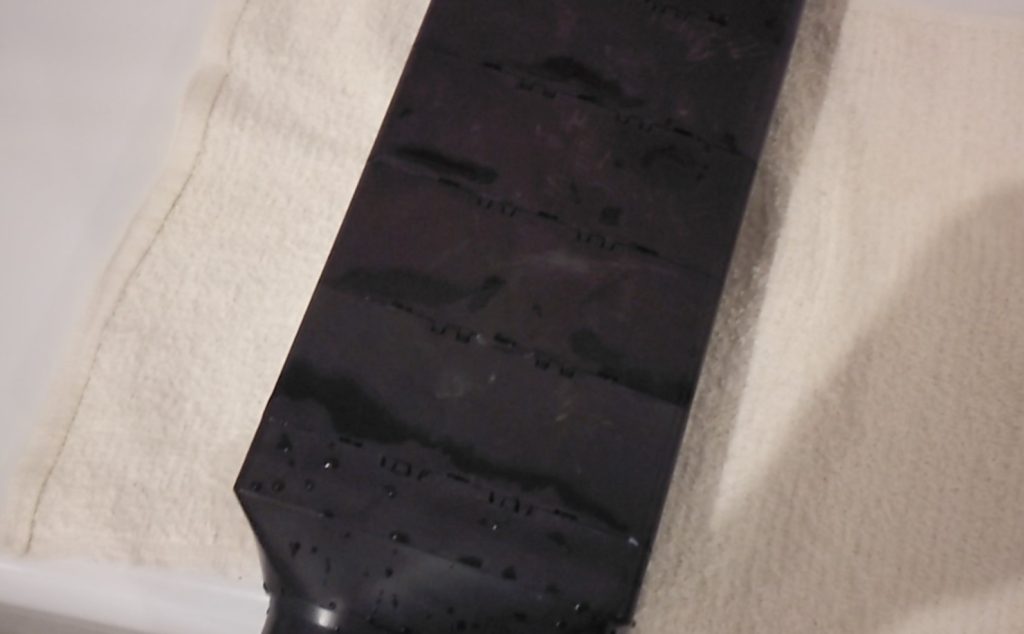
Step 1. Remove the Plastic Wrap Around the Filter
The Pro Filters have a plastic wrapper that must be carefully cut off with a razor blade or scissors the first time you open the filter. Once the wrapper is removed, you can access the individual plastic blocks inside the filter assembly. You do not need to cut anything during later cleanings.
Step 2. Pop Apart the Plastic Filter Stack
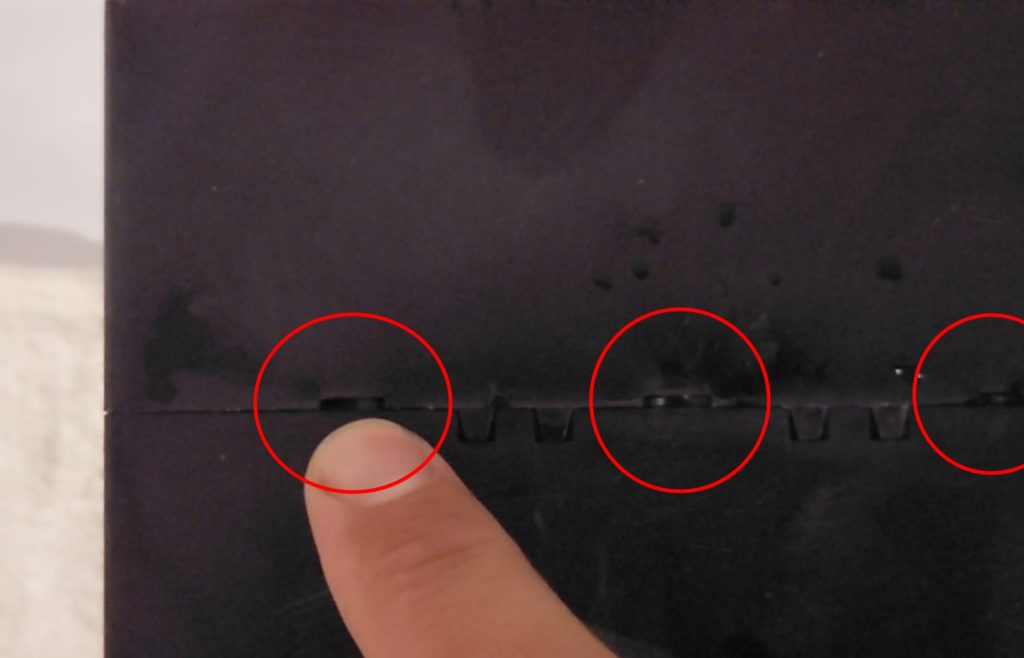
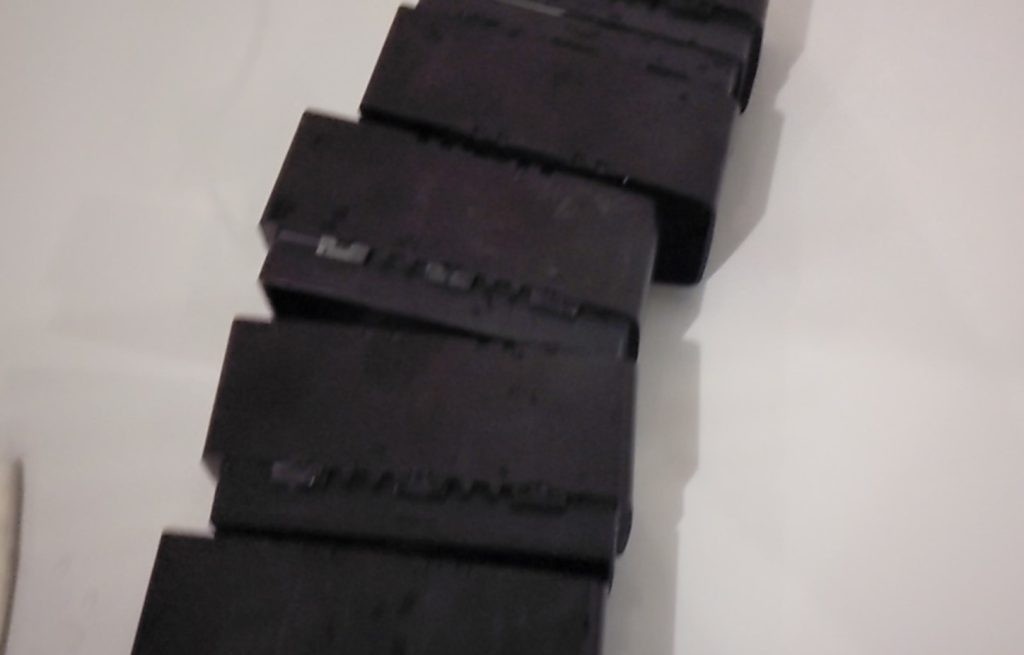
Use a small flathead screwdriver to press each retaining tab shown below. Release the plastic blocks one at a time until the filter stack has been separated. During later cleanings, this is where the recurring disassembly begins.
Step 3. Remove the Internal Filters
There should be five internal filter layers resting on the plastic blocks. Slide each layer out and keep them in the exact order in which they were removed. The most porous media starts at the top and progresses down to the finest media.
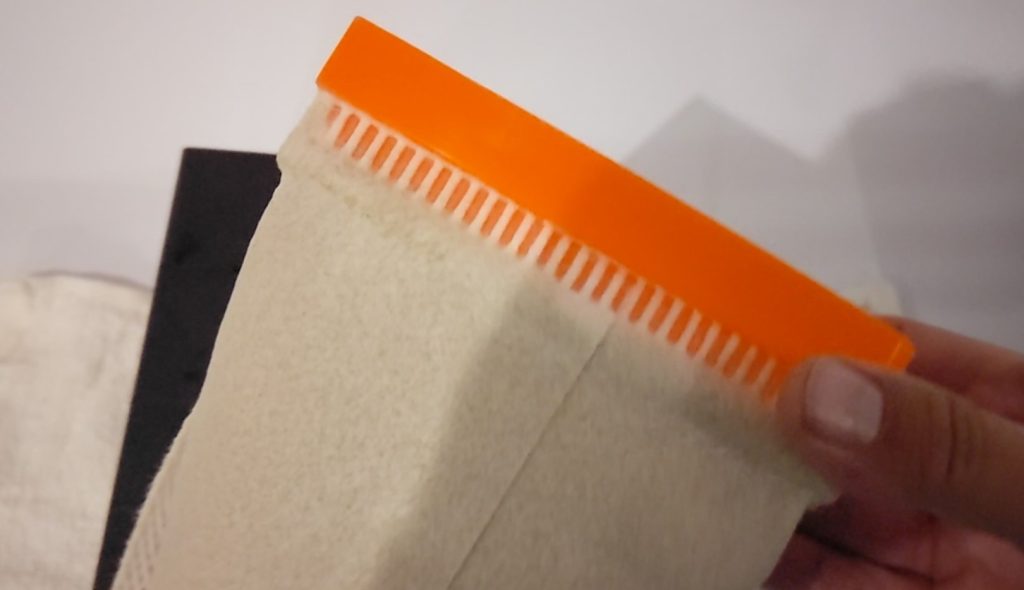
Step 4. Clean the Five Internal Filters
The internal filter material is not very porous, which makes it difficult to clean deeply. Run each layer under warm water and clean the loaded surfaces as thoroughly as you can with a soft brush. For a deeper clean, use a pool or hot-tub cartridge cleaner only as its label directs, soak for the specified time, and rinse every piece thoroughly before reassembly. Never mix cleaning chemicals.
Set the right expectation: This is a best-effort cleaning, not a true restoration. You cannot open the dense internal material and flush every captured contaminant out of it. The pieces may look cleaner and flow better after rinsing, but they will not be as clean as new media. If the water remains dull, dirty, or difficult to balance after reassembly, replace the set or move to the Kit v3 filter path.
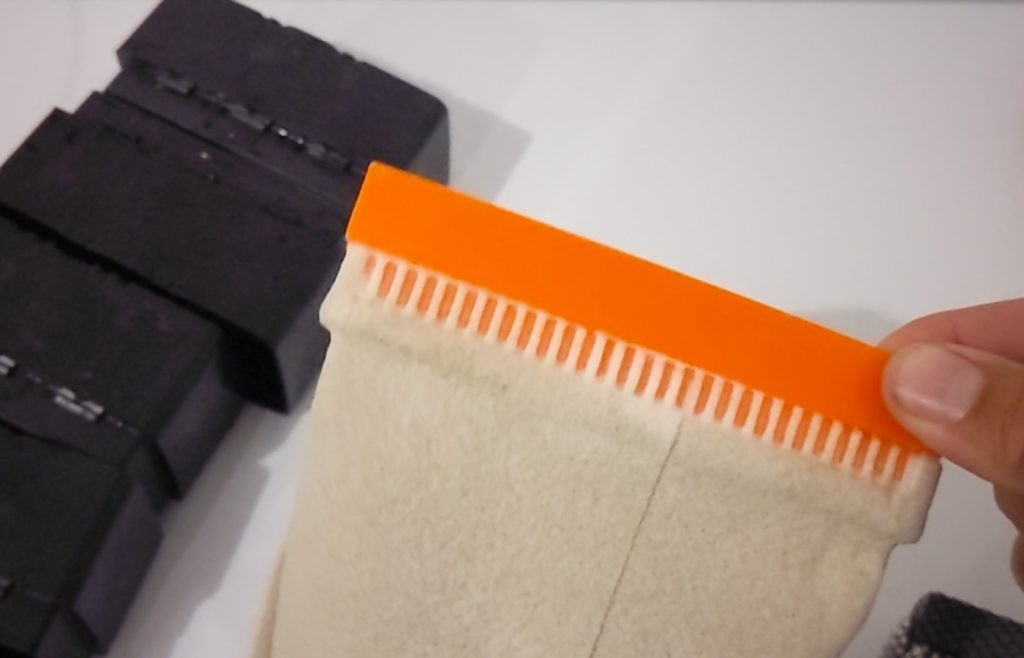
Step 5. Reassemble the Filter
Slide each of the five internal filters back into the plastic blocks, then rebuild the stack with the media in place. Put every layer back in the same color-stacked order in which it came out. Each block should click securely into the next. The filter can operate without the removed label wrapper, but do not reinstall it if the blocks will not seat, the tabs are broken, the media is torn, or the rebuilt assembly is loose.
Why I Used This Method Before Designing Kit v3
I used this teardown method myself before I designed the Spa Filter Adapter Kit v3. It kept the filters usable longer, but it never cleaned the internal media as thoroughly as I wanted. The wrapper only had to be cut off the first time. After that, every cleaning meant popping apart the plastic pieces that make up the filter stack, keeping track of the media order, rinsing and scrubbing the difficult internal pieces, and clicking the whole stack back together correctly, even though some contamination was still trapped in the media.
I eventually got tired of doing it. The process was slow, messy, and far more work than normal filter maintenance should be. That frustration pushed me to design Kit v3 so compatible 2020+ Custom Series owners could keep the original filter covers while switching to affordable generic filters that can be removed, rinsed, cleaned, and reused without dismantling a proprietary filter stack.
Why the Stock System Creates Recurring Filter Purchases
Arctic Spas does not publish this teardown as routine maintenance. Its normal path is to replace the proprietary filter set. Because the internal media cannot be reached or deep-cleaned through ordinary rinsing, owners who follow that path must keep buying new proprietary filters instead of maintaining an accessible pleated cartridge.
The practical business effect is a recurring replacement cycle. I cannot verify where filter revenue ranks inside Arctic Spas, so I will not call it the company’s biggest money maker as a fact. What I can say from owning and maintaining the system is that the proprietary design makes proper owner cleaning impractical and keeps replacement-filter purchases coming.
Move to Accessible, Reusable Filters
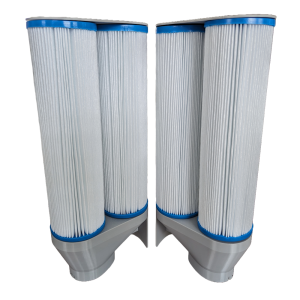
If you are tired of popping apart proprietary filters, accepting a partial cleaning, or replacing expensive filter sets, consider the Arctic Spa Filter Adapter Kit. It lets compatible owners move to traditional pleated generic filters that are easier to rinse, deep-clean, inspect, and replace.
With the adapter installed, the pleats are exposed and accessible. You can remove the compatible generic filters, rinse between the pleats, use a proper cartridge-cleaning soak when needed, inspect the entire filter, and put it back in. No plastic wrapper, no block-by-block teardown, and no relying on partially cleaned internal media.
Frequently Asked Questions
Are Arctic Spa Pro Filters designed to be cleaned this way?
No. The proprietary filters were not designed to be taken apart, and Arctic Spas does not approve this DIY method. It permanently opens the original cartridge assembly.
Does the DIY teardown actually work?
It worked for me as a way to extend the filter’s use before I designed Kit v3. It did not return the internal media to like-new cleanliness. The tradeoff is the time and hassle required to pop apart, rinse, track, and securely rebuild every layer while accepting that trapped dirt remains.
Can I clean the filter without taking it apart?
Not effectively. The media layers sit inside the proprietary stacked assembly, so the DIY method requires removing the wrapper the first time and separating the plastic blocks to reach them.
Why is Kit v3 easier?
Kit v3 lets a confirmed compatible 2020+ Custom Series spa use removable traditional pleated generic filters. Because the pleats are accessible, they can be rinsed and deep-cleaned much more thoroughly. You do not have to pop apart and rebuild a proprietary filter every time, and you are not relying on partially cleaned internal media.
Are reusable generic filters included with Kit v3?
No. Kit v3 includes the adapter hardware. Compatible generic filters are required and sold separately.